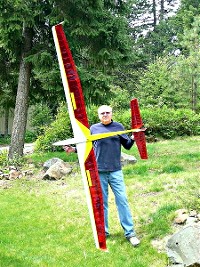
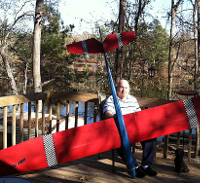
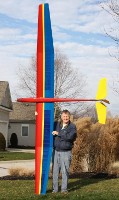
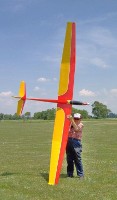
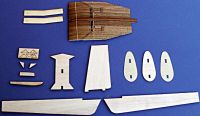
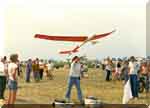
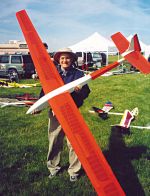
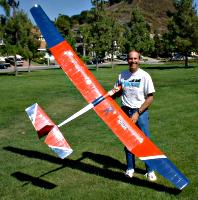
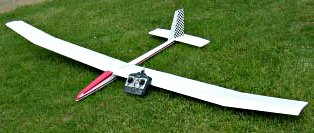
| The 2m Lil Bird, Big Bird, and Sky Bird are now on their own page. | ||||||||||||||||
| The Oly IIS and Oly III, are now on their own page. | ||||||||||||||||
|
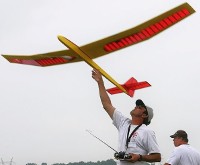
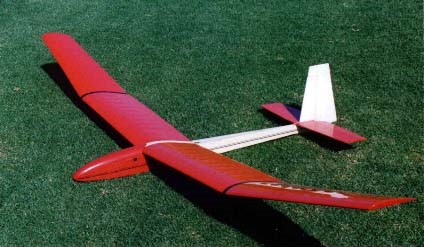
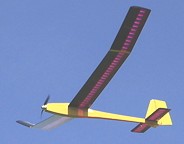
Sky Bench is proud to announce the availability of the famed Original Airtronics Olympic II sailplane kit, better know as the OLY II. We are now producing this great flying and super durable Lee Renaud design.
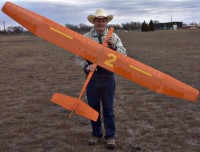
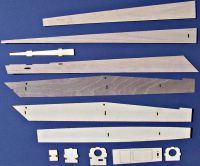
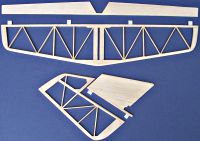
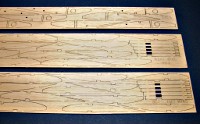
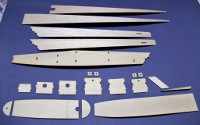
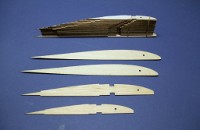
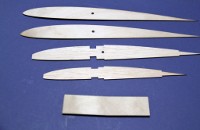
The OLY II has been the best beginners R/C Sailplane for years and has taught thousands of r/c sailplane enthusiasts how to fly successfully. The OLY II will stay up on the slightest of thermal activity and produce long flights for the beginner, but don't be fooled into thinking it is only for beginners. The OLY II is still winning contests, Tom Kellevang flew his OLY to first place in the 2000 AMA/LSF Nostalgia NATS and the wind was fierce all day. The kit was originally designed to build fast and now Sky Bench has improved on that with laser cut wing ribs that are stacked, and ready for immediate use with out needing to be punched out like a die cut kit. The fin is now a one piece laser cut part that saves building time and more importantly makes a much stronger tail section to better withstand a flip over landing. Both the stab and rudder also have laser cut parts to save building time and create more accurate and stronger flying surfaces. The fuse top and bottom are now laser cut and this will also save building time. The wing leading edges are pre shaped and require minimal sanding, spoilers are optional, but installation is shown on the construction plan. All hardware to complete the model is furnished except the adhesives and covering materials. The 5/16" steel wing rod that joins the two wing halves is a competition level wing joiner. Separate plans are furnished for the wings and the construction manual is illustrated with lots of photos to make building a snap. This was my second build after the Gentle Lady. The OLY II had its test flight this weekend and did great. 16 minutes off the winch with very little lift. Looking forward to building the Big Bird. Ron
Kit Price, $136.95 Bob Legue's Electric Conversion
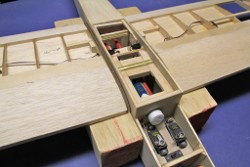
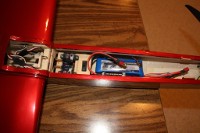
.. Interior motor area dimensions ..
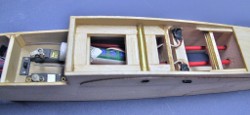
Notice.......... January 2006 I have been continually striving to improve the OLY ll kit to improve the strength and the ease of assembly. The kit now includes the Du Bro Laser push rod package and Du Bro metal clevises. This will improve the quality of the kit and make the building more enjoyable. An electric motor mount former is also included in the kits. Use this to mount a Graupner Speed 600 motor for ease of launching. Other more powerful motors can be used. Flight Battery and Servo Information: I use a 4 cell, KR-1400-AE Ni-Cd Flight Battery pack from Batteries America, with a Hitec receiver protection rubber pad (1/8" thick) between the nose block and pack. This fits just right in my OLY ll. I have two quarters for added nose weight. I'm using the larger size Hitec HS 300 servos for rudder and elelvator.
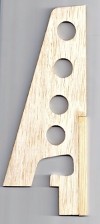
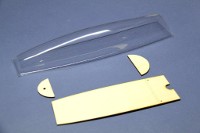
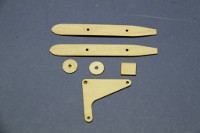
Electric Motor mount former for Speed 600 (included in kit)
| ||||||||||||||||
|
Beginners tips: Flying R/C Sailplanes Page 1, Page 2, Page 3, Page 4 | ||||||||||||||||
Designs by Leon Kincaid
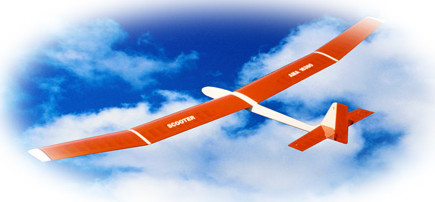
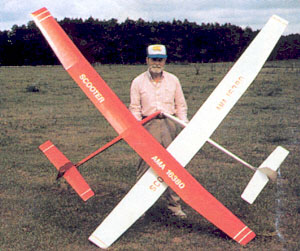
3m ScooterSKY BENCH is pleased to add the Scooter to it's growing list of quality RC Sailplanes. Leon Kincaid has authorized Sky Bench the production of his Nats winning glider the Scooter formerly produced by Spirit of Yesteryear models. The Scooter is a three metre built up aircraft for rudder, elevator and spoiler. The wing carries ballast tubes. Selected wood, which is laser cut, precise drawings and hardware make for a very complete kit. The Scooter has a long history of competition victories to it's name including six Nats wins a Tangerine win and many State championships. Leons original airfoil was forwarded to Michael Selig for evaluation and was smoothed out for improved performance. It caries the K3311SM number. Wind tunnel test results may be seen in the publication Summary of low-speed airfoil - Volume 1 by Michael Selig et. al. Details:
Full Kit Price: $189.95 includes rod/tubes Laser Parts only: $94.95 Wing Rod and Brass Tubes: $18.95 CLICK HERE FOR ...Ray's BUILDING TIPS
| ||||||||||||||||
|
Designs by Ed Slobod
Pierce Arrow, Pierce 970, Paragon, Paramount, Gemini and Ridge Rat.
| ||||||||||||||||
|
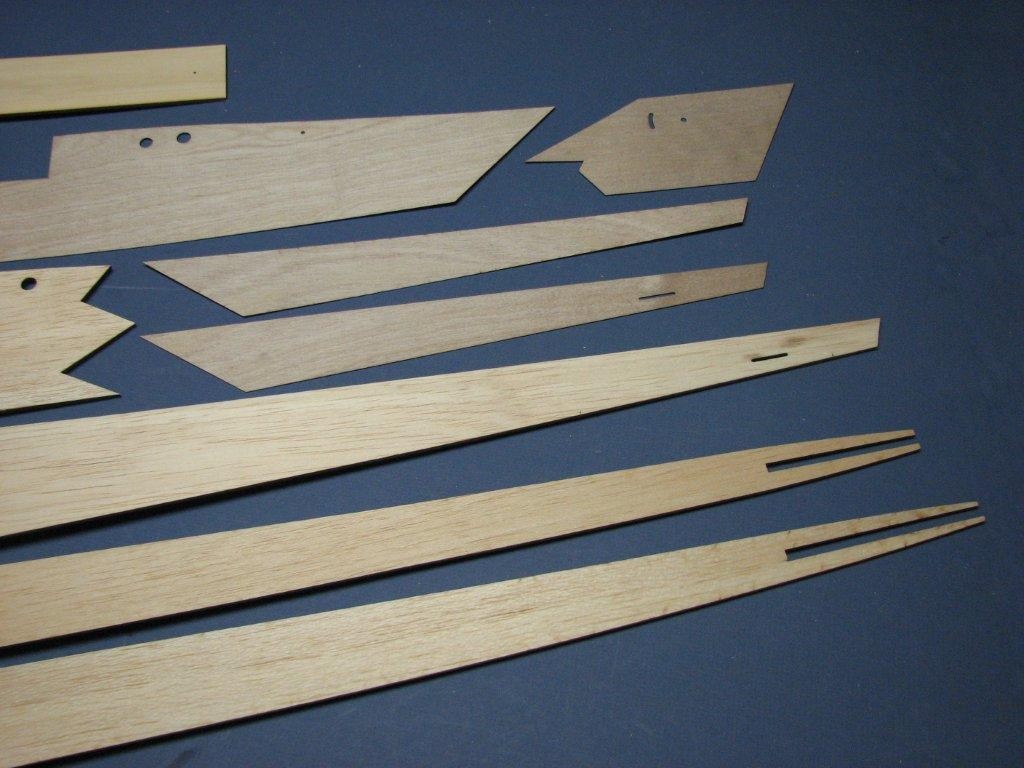
The top photo is my 2nd Pierce 970 I had way back in 1977. Hard to see, but I put flaps on this one. The airfoil is a thin flat bottom and was one of the best at lifting out in light lift. The Sky Bench kit includes half inch wide vertical balsa shear webbing between the 1/2" wide spars in the inner wing panels that will make a very strong wing. Carbon strips are not included. Ed Slobod is famous for his Paragon design, but I think when the Pierce 970 starts showing up at the flying fields, you fellas will see the light and want a 970 too. The flight speed envelop is much larger due to the thin wing. Back in 77, we didn't have carbon to beef up the wings and so the 970 was a bit fragile, but not anymore. This is a big sailplane with 120 inch wing span that is very easy to build and one of the great all time best Nostalgia performers. Thanks to laser cutting, I have saved the builder a lot of construction time on this kit. The wing rib cap strips have been eliminated, the wing is set up for a single wing rod instead of two, the inner wing panels have 1/2" wide spars with precut vertical shear webs between the spars, the stab ribs do not require cutting in half like the original kit did, but still has a sysmetrical section and the stab control horn can be built attached to a stab root as shown on the plans or within the fin to reduce drag and protect it from breakage. The fuse sides, top and bottom are laser cut for a fast build with tab and slot former construction to keep the fuse straight. 1/64" plywood doublers are used at the nose/wing joiner and at the fin junction. The fuse wing joiner area has been modfied to greatly increase the strength. John Boughton with his P 970. John has his balance point at 3 1/4" back from the leading edge and the tow hook is 2 1/2" back from L. E. The plan show the balance point way forward of John's setting, but John kept pushing the CG rearward until the proper performance was achieved. Just looking at the plan, most everyone should know it is positioned on the plan too far forward. The P 970 has a low wing incidence and that requires a rearward CG location. I'm nearly finished building my P 970 and I'll start the CG at John's setting. Thanks John.
I have found a good use for an Aluminum Cigar tube, it makes a great ballast holder, complete with screw cap. I use a brass tube filled with melted tire weights ( think green ) that easily slides in and out of the Aluminum ballast holder tube. The Aluminum tube is glued into the fuse at a downward angle and is centered length wise over the balance point. View of spoiler servo wiring connectors epoxied to inside of fuse and wing at the same time to insure alignment. | ||||||||||||||||
|
Span 118" - Wing Area 1080 sq. in. ED SLOBOD'S PARAGON KIT INSTRUCTIONS
Paragon Laser Cut Parts This is a very, very quick building kit. The fuse snaps together with dead on accuracy. And the wing is three piece for easy transporting and construction. No wing rod to install means QUICK CONSTRUCTION. I am very glad I can bring this classic back to the flying fields and it is just in time for today's high interest in installing e power to our Sailplanes. There is plenty of room in the fuse for the motor and batteries with easy access. Paragon complete Kit .. $158.95 Hi Ray, The Paragon kit arrived yesterday right on schedule. I'm very impressed with the quality of the cutting, the wood and the way the parts are organized. Also, the use of hardwood for stringers and spars for both the wing center section and tips as well as the cross-grained filler between the spars in the center section promises to make a much stronger wing than the original. Thanks again. Tom Ball AMA99767 | ||||||||||||||||
|
Another famous design by Ed Slobod. This was the forerunner of Ed's Paragon and has now become a popular conversion to Electric by adding three more ribs in each center wing panel to extend the wing to 91 inches. This laser cut kit includes the six extra ribs. Pierce Arrow specifications:
24 oz. flying weight shown on Ed's construction plan. Extra six ribs adds 112.5 sq. in. wing area. Partial Kit Only, Laser cut parts include: Beautifully accurate laser cut wing ribs, plywood wing joiner braces, balsa tips and center section of stab and plywood canopy pieces. Fuse sides, strip wood, spars and tail stick stock not included. Partial Kit price including plans and instructions: $46.95 |
||||||||||||||||
|
Gordy Discovers Ken's Windlord.
Windlord for Electric or Winch
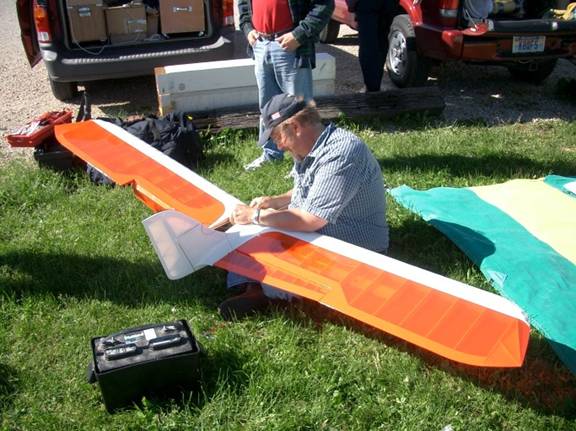
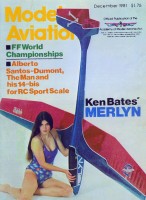
wing span 100" area 1400 sq. in. Ken Bates assembling his Windlord at Wood Crafters Superior Flying Wing performance designed by Ken Bates Semi Kit includes: Laser cut parts as shown in photos.
Partial kit ... $89.00
See Ken's build thread on RC Groups Purchase plan #215 from AMA Plan Service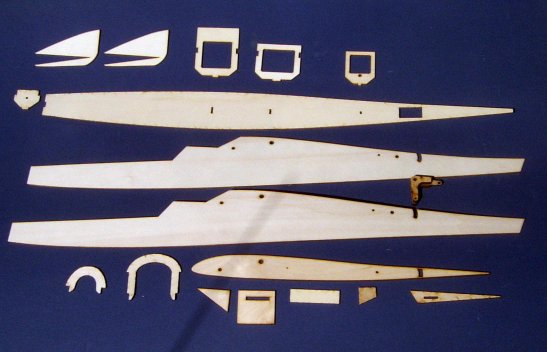
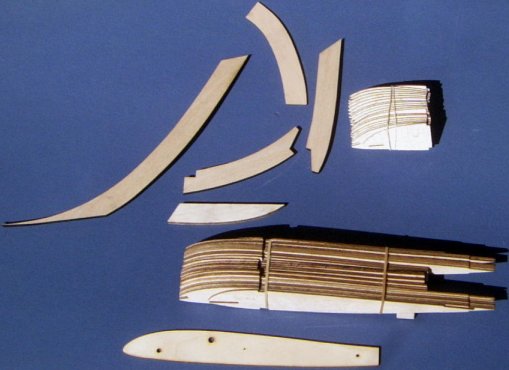
Windlord Laser Cut Parts |
||||||||||||||||
|
Full KIT PRICE ... $288.95 SH ... $24.95 Plans and instructions not included
KIT PRICE ... $263.95 SH ... $24.95 Plans and instructions not included Two wing joiner rods and brass tubes ... $26.95 Shipping included if ordered with partial kit Ordered separately ... SH ... $19.95
Partial Kit Order construction plan #354 and build instructions
Ken Bate's Merlyn Building Instructions Hi Ray, Just put my ordre in the mail for your Cloud Bound 4 full kit. I plan to motorize it just like I did the Merlyn. I've attached some Merlyn pictures and a short video of its maiden takeoff from the dolly (Quick-Time). The Merlyn flys extremely well which makes this ol' (84) man very happy. Chet
This is the power set up Chet installed in his Merlyn: Ken Bate's Merlyn Building Instructions
U-TUBE videos of Richard Robbins E Merlyn
|
||||||||||||||||
|
The famous Legionair series of sailplanes designed by Cecil Haga are coming back. Cecil's son Bill has given exclusive rights to Sky Bench to kit the whole series of Legionairs. Cecil designed several versions of the Legionairs, 2M, 100", 132",140" and the Shuttle in 2M and 100". The Legionairs were very popular and well know and exceptional performers. The airfoil was designed to handle the Texas high winds with a low wing loading which will allow today's rc pilot to penetrate and search for lift far from the confines of the flying field and still thermal out in light air. Prices and more information will be posted when available. Send an email and you will be notified when the Legionairs are available, pricing, etc. I will not be able to respond to questions due to time constraints on Sky Bench. We are swamped, but I wanted to let everyone know this great flying sailplane will be available. A special thanks goes to Bill Haga, Jack Womack, Bill Maserang, Jim Ealy, and Jim Deck for their help in this project. Building tips and parts change notification
Ray, Robin Sleight's Legionaire Notes
Full Kit to build 100"
or 132" or 140" versions...$350.00 + $24.95 SH |
||||||||||||||||
|
Designed by Otto Heithecker in the early seventies, it was the best then and thanks to laser cutting, is the very best nostalgia sailplane kit available today. The 145" wing span and the 70% of span flaps give this design modern day performance. This is a very stable design capable of flying in 35 mph winds or floating like a butterfly. Requires 3 to 5 function R/C. All parts are laser cut and is a builders dream come true. Includes original construction article.
KING OF NOSTALGIA........................$199.95 Click here for Assembly tips and photos Pete Schlitzkus is eagerly waiting to fly his Challenger in the 2010 AMA Nats Nostalgia event. I am definitely eager to see Pete's work of art, looks beautiful. Congratulations to Pete and his truely beautiful Challenger, finishing in 3rd place at the AMA Nats Nostalgia event, July, 2010. Hats off to Pete for his First Place in the 2011 AMA NATS Nostalgia event with his Beautiful Challenger The AMA Nostalgia event is a great place for woody sailplane enthusiasts to meet and share their love for building and flying Woodys. This one day event has remained popular and attracts contestants from all four corners. Come fly with us...
JIM PLACED 1ST IN THE 2003 AMA/LSF NOSTALGIA CONTEST WITH HIS CHALLENGER TOM SCULLY AND HIS BEAUTIFUL CHALLENGER PLACED 3RD, 2003 AMA/LSF NOSTALGIA
|
||||||||||||||||
|
Cloud Bound 4, designed by Don Drury and published in RC Modeler May 1977. This is a versatile design that can be flown in Nostalgia events and yet, due to the availability of programmable radios, can give the flyer all the controls possible. It can be set up with flaps, flaperons, flaps and ailerons, and spoilers. Click on (more info) for graphics and specifications. The Cloud Bound 4 can also be constructed with just spoilers to qualify for RES rules. I am going to build mine for RES, but include the short landing brakes that can be de-activated during an RES event. Using an Aquila airfoil, the wing can incorporate spoilers and short or long span landing flaps for precise landing speed/decent control as well as camber changing. Truly an elegant V-Tail r/c sailplane design. I am proud to make Don's creation available as a laser cut kit. Wood kits provide two levels of gratification. It is a wonderful feeling to see your hand-built kit, first arriving as a box of wooden parts and requiring your building skills, then soaring high with the clouds. The wing joiner system and spar has been updated to handle modern day winch launching. The diagonal wing rib construction has been retained and all ribs are laser numbered. After talking to Don about his design, I decided the fuse may not be strong enough to handle the extra load (twisting) the V-tail exerts and decided adding laser cut 1/16" balsa sheeting fuses sides would solve the issue. Like the Aguila, the Cloud Bound 4 will provide a fairly wide speed envelope and definitely be able to spec out on light lift. A BEAUTIFUL NOSTALGIA OR RES DESIGN. Full Kit price..........$198.95 RCM Magazine Instructions Article Ray's Cloud Bound 4 fuse modifications  Ray, Here is the picture of the Cloud Bound 4 we talked about at the Wood Crafters Event last week-end. It was great to see all the different planes and meet so many friendly people during the Wood Crafters Event. It was a great week-end. As you can see the Cloud Bound is one impressively large plane. I enjoyed building this plane and hope to fly it soon.
David Howell Dear Ray; Hope this note finds you well. I finally completed the CB4 - E conversion. You sold me a short kit about a year ago. I would never have finished this without the kit! Pictures attached. I have taken about 100 assembly pictures including a "how I did that" on the conversion of the fuselage to sufficient E power. I can forward these [smaller versions] if you wish. Major changes aside from the E conversion were carbon fiber strip reinforcement of the spar, fiberglass reinforcement of wing rods and fiberglass reinforcement of the wing root and inner-to-outer panel attachment. Glad I did this as I had a potentially ugly incident right after launch. Maiden flight was yesterday. The CG was too far in the tail end direction ... I forgot about the 4 inch extension of the tail moment. That made the first 20 seconds after launch "interesting". I learned a lot in that 20 seconds. First, this wing really does not like to stall. Snap and roll. Not helped by the Dutch roll tendency of the V tail. Ugly recovery. But it recovered. The recovery bent the two 1/4 inch drill rods I used as wing attach points. We'll fix all this drama by moving the CG forward. But once we got things trimmed, what a beautiful flyer! Majestic! V-tail control authority is ample. The penetration into the breeze was remarkable, although this was, no doubt, helped by the high wing loading due to the e-conversion [13.6 oz/sq ft]. While this seems like a lot, I note that Esprit sells some very expensive, large E-sailplanes with the same loading . The Lee Renaud wing profile probably helped too [just don't stall it]. A fabulous airplane...thanks for keeping her alive.
Best, |
||||||||||||||||
|
WF-XL
WF-XL KIT ... $179.95
Now taking orders for kit with straight 1/4" diameter Injector
heat treated steel core pin wing rod version.
This version of the WF-XL is best suited for electric motor, light footed winch and Hi-Start launching. Electric motors installed in RC Sailplanes has swept the world of Woody builders. The attached electric motor offers a high degree of convenience and ease to launching and finding a flying field suitable for flying safely. The straight wing rod is 1/4" diameter. The wing dihedral is set by 2" under each Rib # 12. See Wing Construction Tips on my Sky Bench web site for tips on how to install the brass tubes and rod. The plan is drawn showing flaps and ailerons, but materials are not furnished. See Frank Wren's on line WF-XL instructions with great photos for flap construction. CLICK HERE FOR FRANK'S INSTRUCTIONS AND PHOTOS. Due to the wing's in board panel length, the flaps can be used as flaperons, just like the Challengers wings. Flaps can prevent electric motor and prop landing damage and provide a wider envelope of flying speed Wing span 116" Wing area 780 sq in. Airfoil S3014
Plan drawn for RES plus optional flaps and ailerons.
Plan drawn by Ray Hayes for Sky Bench
Frank Wren's Building instructions link for a Spoileron Version that could be flaps instead. Builder could also add ailerons. His wing dihedral set up is very flat, should make an excellent sloper with the S 3014 airfoil.
CLICK HERE FOR FRANK'S INSTRUCTIONS AND PHOTOS.
Here are the pictures that go with the build instructions, if you use the MS Word format. |
||||||||||||||||
Specifications: wing span: 100", wing area: 555 sq. in.
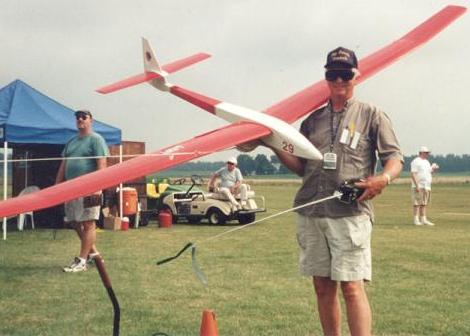
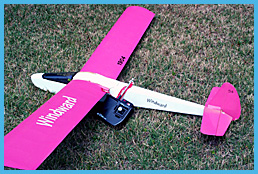
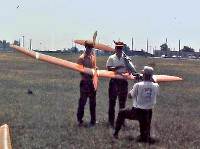
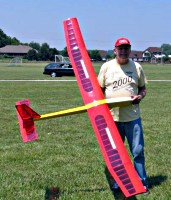
It is perfect for those evening Flying sessions when the lift is very light and the fading sun glitters on this beautiful glider. The wings have D-tube construction that is necessary for an accurate airfoil and a strong wing. The wood selection in the kit is very good and light. The average weight is 25 to 30 oz. and easy to build. Mark Smith made the Windfree famous in the seventies winning major contests all over the USA. I cut my R/C soaring teeth on the Windfree in the early seventies. The modifications I made to it were narrowing the fuse and reducing the fuse height as maybe noticed in the photo of my current red Windfree, sometimes I would sheet the top of the wings (I probably built at least ten of the Windfrees back then). My current Windfree weighs 23 1/2 oz.. A sharp leading edge on the inboard 2/3 of the wing produces excellent results for working very light lift. Years ago, I discovered how to fly upside down in thermals with the Windfree for added kicks. The best looking Windfree I had was all white with red monokote on
the bottom of the wings and stab. Enjoy. If you would like to participate in a Windfree Postal contest, please let me know. Skybench@Comcast.net Ray Hayes LSF 803 NSS 029 |
||||||||||||||||
|
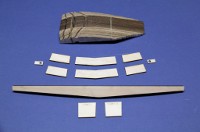
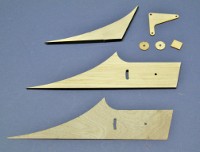
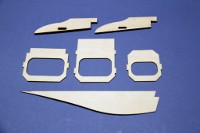
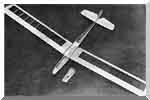
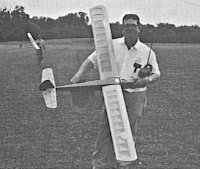
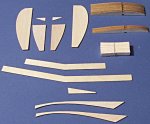
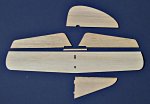
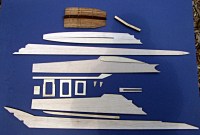
Correction to an old misprint, this is Rod Smith, not Ron, he is Mark Smith's farther. This was their start in the model kit manufacturing business.1971 photo, second annual Nationals Soaring Event that became known as The SOAR Nats. Click here or on photo for larger pic and magazine text. Dan Pruss, John Nielson and SOAR crew hosted seven consecutive events, 1970 thru 1976. Wing Span: 72 in., Wing Area: 532 sq. in., Weight: 24 oz. Windward The Windward won the first Chicago Soar Nats in 1971 and the 1971 Western R/C Soaring Championships and is still a very good performer today. The Windward design lead to the 100" Windfree kit designed by Mark Smith and both models flew exceptionally well, the Windward kit is extremely easy to construct. The rudder and elevator are pre shaped sheet balsa wood, laser cut wing ribs, and many other laser cut parts, and original Mark's Models kit plans and instructions. The wing dihedral joint and spars are beefed up for today's strong electric winches. Rudder and elevator control only, however, spoilers and ailerons are an easy builder option. Designed for high performance slope and thermal soaring, the Windward is easy to fly and an ideal trainer. Enjoy. Ray: I have seen the Windward fly and always wanted one, now, at last I can enjoy building and flying a Windward. I will also build one with a geared Speed 400 and narrow the fuse. Pictured above are the laser cut parts for the Sky Bench Windward kit. One of the areas I work on when I redo old kit designs like this Windward, the OLY ll and other kits to come, is try hard to reduce the parts count which means quicker building time for you and me. Some important changes I made to the Windward is moving the spar back to the high point of the airfoil. This requires wider wing sheeting stock, but improves the wing strength and the airfoil. The trailing edge was changed from built up 1/16 sheet to Trailing Edge stock which is also more costly than the original kit, but sure reduces building time. The original kit didn't have a fuse former, it does now. I substituted some balsa fuse parts for plywood parts plus changed the wing dihedral braces to improve strength in critical areas. Remember, they used 6 volt winches when the original kit was introduced. The wing tip parts are laser cut according to the plan as well the center rib angle template is included. All Laser cut wood parts, original construction plans, instructions are included. I hope you builders will reduce the width of the fuse, especially from the wings leading edge (that is where the new former is located) forward to the nose block. The wide nose section on the original was due to the large size of radio equipment back then.
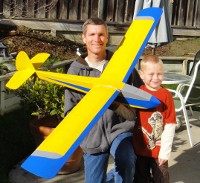
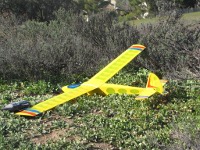
Hi Ray, Hi Ray, Just wanted to say Happy New Year and send you a couple of photos of the Windward kit my 5-year old son and I just finished. I've been away from models for quite a while, and wanted to introduce my son to the joys of building and flying gliders, something I loved when I was a kid. Anyway, the Windward was the perfect kit for that! We built it with no mods to the plans. Wings are covered with traditional silk and dope and the fuselage/tail is covered with Silkspan and dope. Initial test glides were perfect, she really floats! Looking forward to getting it on a high-start as soon as the weather cooperates. We already have one of your Oly II's waiting to get built as well. Anyway, thanks for being a great source for the kits we all love and remember. Best Wishes, Pete Brown Hats off to you Pete, I hope your son Henry will have a great time learning his Dad's modeling skills. Hi, Ray. Back in 2001, I emailed you to order a Windward kit. I remember relating that my previous model had lasted 17 years, until I strained it through an oak tree. The Windward has been a favorite of mine since the early 1970s, and I promised to send you a photo when I completed my latest. Well, one thing led to another and the plans languished in my "to-build" file until last year. I finally managed to sit down and knock out my third Windward and flew it this past March, on the local hill I've been using for almost 40 years (I think my friends and I spent most of our teenage years up there!). Anyway, I'm enclosing a couple of pics taken right after the maiden flights. As you can see, I built up the horizontal stabilizer and put lightening holes everywhere else. This one weighs around 22 oz., with standard Futaba 3004 servos and a 600-milliamp pack up front. Since I was flying alone, and it was a gusty afternoon, I couldn't get any flight shots, but I hope you enjoy these.
Regards, | ||||||||||||||||
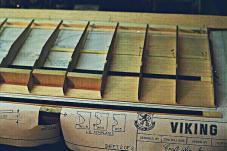
The Viking was an extremely popular kit design back in the days of NOSTALGIA and today it will qualify for both RES and NOSTALGIA CLASSES. Introduced in May, 1978 by Tom Williams of Craft - Air, the Viking and line of Windrifters dominated the r/c soaring scene in the early years. Terry Koplan of California flew a Viking in the 1978 FAI Team Finals, Pensacola, Fl., to 2nd place beating out the Aquila Grandes, Grand Esprits, Aquilas, Paragons, Legionairs, others, and I'm sure he still has one or two of these beauties still flyable [see below]. This is still one of the best "Floaters" A couple of the main reasons for the designs success was the large wing area and light wing loading. The wing proved to be very strong and should have no problems with todays 12V winches, back in the good ol'e days, we used 6 volt winch batteries and smaller test tow line. Sky Bench includes some tips and parts to strengthen the fuse weak spots, just in front of the fin and wing. Features we are proud to present in this kit are the laser cut fuse parts with TAB-SLOT construction for quick accurate building and superbly laser cut wing ribs that will make this kit a joy to build. The kit is furnished with all hardware, wood, original construction plans and instructions. Two Sky Bench Case Hardened Tool Steel Wing Rods, 5/16" diameter, are furnished. I know you will be delighted with the flight performance and ease of building this design and I can't wait to have mine completed and in the air. Enjoy! Beautifully Laser Cut Viking kit, Mark I or Mark II Available as a partial kit, Laser cut parts only ... $89.95
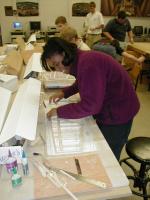
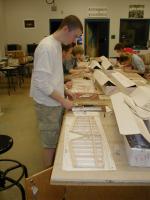
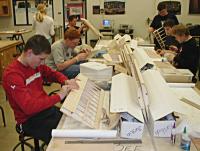
Viking MK I Build Thread by Kevin Laurion Terry Koplan and his twenty two year old Viking, still going strong. This photo was taken July 2001, This is the same Viking Terry flew to 2nd place in the 1978 FAI Soaring Team Finals. Is this a Sky Bench assembly line? It is the 2001 Leesville, High School Aero Space program students putting together a whole bunch of Sky Bench Viking kits. Last year they built and flew the 2M Lil Bird kits. Ray's Viking under construction
Test flight was April 1st resulting in a 45 min. test hop (no Aril fools
here). What a great bird. Why didn't I fly one of these in the late '70's?
CG was at trailing edge and this NOS will come back up wind when the flat
bottom designs leave you short of home base.
| ||||||||||||||||
WindrifterCal Posthuma and his brand new Sky Bench Windrifter built from our partial kit. Windrifter
Partial Kit as shown with Windrifter 100" now available as a partial kit, click here to go our Partial Kit page. See a Photo of the laser cut Windrifter parts, vastly improved engineering from original kit produced years ago that includes tabbed formers and slotted fuse sides with 1/64 plywood doublers. |
||||||||||||||||
|
Carl Lorber's Thermal Queen
144" wing span Eppler 385 airfoil Laser cut plywood and balsa wood parts only $85.00 Partial kit includes: Wing, stab and rudder ribs, fuse formers and crutch, plywood wing dihedral braces and 1/64 plywood fuse side doublers.
Order the plans and instructions from Carl's construction article appeared in the November 1970 issue of Flying Models magazine. The laser cut wing ribs have been modified from two bottom spars to two top and two bottom spars, this allows the builder to fill between the spars with vertical balsa shear webs and shear webs on the sides of the spars. I built a Thermal Queen in the early seventies and will build another one from this Sky Bench kit. Watch for my construction photos. Fly the Queen after dinner, it will go up in the slightest of rising air. Building this kit is simple for me, but I have over sixty years of building experience and don't need instructions to build any woody sailplane. If you're an instruction word by word, step by step builder and haven't learned how to "read" a construction plan, forget this kit.
Thermal Queen Instructions Carl Lorber never had this in mind when he designed his great flying Thermal Queen. Installing e power in RC Sailplanes is very, very popular these day's. Bruce built his TQ from a Sky Bench kit and reports the design is a real floater. | ||||||||||||||||
|
Carl Lorber with his Prancer Standing with Carl is Dwight Hartman, original mfg. of the fiberglass fuse mold. | ||||||||||||||||
|
Ray's Gulf Coaster Building Tips Don Harris has been flying his Gulf Coaster in the Nostalgia event for several years with great success. Don built his GC from scratch. Now you can have this great flying old timer from an easy to build laser cut kit with an accurate Clark Y airfoil.
Wing span 108" ......... Easy to install Electric
Kit Price ........................................ $ 86.95
Purchase Plans and Instructions from Air Age
>> NOTICE <<
Spar notches in ribs are 1/8 x 3/8" and 1/8 x 1/4" instead of 1/4 square. Re-designed Plywood Polyhedral joint braces that fit on front side of spars.
Wing ribs are cut to require wider ( 1-15/16" ) T.E.
Plan shows two 3/16" piano wire wing rods.
Don's success in the Nat's Nostalgia events with his Gulf Coaster was the motivation to kit the design. The Clark Y is a very competitive airfoil to use in Nostalgia designs, I flew mine in the very high wind conditions at the 2010 AMA Nostalgia Nats with 9 oz. of ballast and finished 4th even after losing 1000 points for missing the landing box. Kits available from Sky Bench finished 2nd thru 7th at the 2010 Nostalgia Nats, a very enjoyable event regardless of where you place.
Placed fourth in the 2010 AMA NATS Nostalgia, so what is the big deal about that ? Considering I had a zero flight, the Gulf Coaster did very well. Don Harris also had a zero score with his Gulf Coaster and finished 7th. Don and I love to compete with with this design. Ray LSF 803 | ||||||||||||||||


